So after the evaporation experiments from the past couple of weeks, I decided to go with the DOW vacuum grease as my sealant. Mostly because it is designed (supposedly) to be resistant to leaks and nonreactive with water, 2 major concerns regarding this project. I’m trusting the manufacturer and the performance of the product in the experiments on this one.
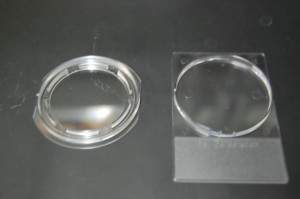
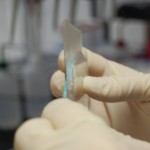
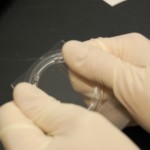
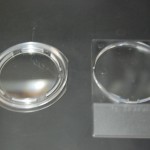
The analyslide has a lid and a base. The base has a circle on it with a slight gap (near the frosted part of the slide), which I’m pretty sure is what helps air escape (creating a decent vacuum) when putting the lid on the base. The top actually has two concentric circles. The inside one is perforated and aligns inside the circle on the base, while the larger circle on the top closes just around the outside of the circle on the base. Since there is no gasket or o-ring in the assembly, the seal isn’t ideal when dealing with water so further measures need to be taken.
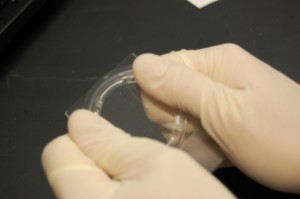
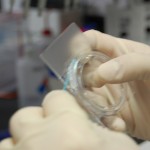
After placing the lid on the base, I press the two together. I make sure to keep the analyslide verticle with the frosted side up (unlike what I’m demonstrating to the right). When there is water in the sample the air bubble that remains will align with the hole in the circle on the base of the slide. Doing this prevents water leakage when pressing the lid and base together. I ensure that I press firmly around the entire edge and evenly.
It is also in this step that one must be cautious. When there are seeds in the sample, they tend to float until water has soaked the seed coat. Because of surface interactions that are beyond my understanding at this time, the seeds also move around the surface and tend to migrate towards the edges. When placing the lid on, seeds may end up under the perforated circle or on the top of the base circle. This causes them to be crushed which could cause even more airflow into and out of the sample (because of the added thickness of the seeds).
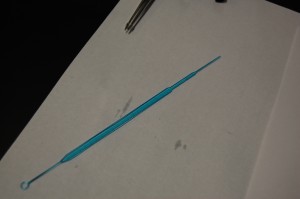
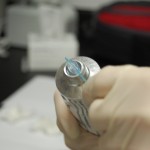
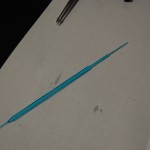
Once the lid is placed on the base, you need to seal the chamber. Previously I used a q-tip because the handle was just the right thickness to fit between the lip on the lid and the base. I eventually switched to a plastic gamma sterilized innoculating loop given to me by a neighboring lab (thanks Nathan!). The loop is a little thinner than the q-tip and I feel allows me better control over sealant application. When sealing, I actually don’t use the loop part at all, and rather use the other end (smearer?) but I’ll still refer to it as the loop for this explanation.
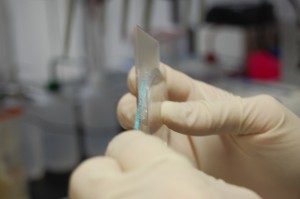
I get a relatively large (but thin) amount on the end of the loop and spread it around the lid-base interface. I make sure to get the majority of the sealant near the gap between the two to ensure a proper seal. Pay extra attention when applying near the sides of the base, because here the lid protrudes a bit and so the sealant must actually be placed near the underside of the slide.
For your viewing pleasure, I am including all the pictures I took (that aren’t too blurry) for this demonstration. I’d like to thank Nadia Fernandez Oropeza for help in taking the images you see here.

