


DOI: 10.15200/winn.142802.20705 provided by The Winnower, a DIY scholarly publishing platform


I removed the seeds from the fridge and decided to keep them in a styrofoam cuvette case. This should keep light and temperature pretty stable in the lab. I then put tape over like groups of seeds so I can easily remove the cuvettes and set them up for picture taking.
Believe it or not, that little trick saves me a load of time.


Wow, that sucked. I had to crop, rename, and label 42 pictures for this notebook. Stupid open science movement. Why do I strive to be a good scientist? Why can’t I just let myself be lazy and allow myself to be a bad scientist? Who cares about accurate data and organization?
I do unfortunately.
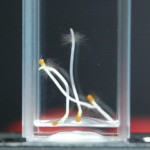
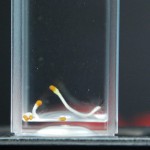
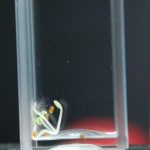
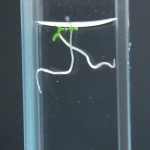
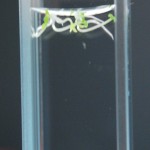
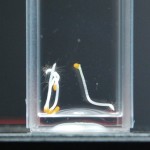
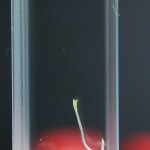
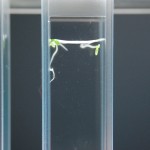
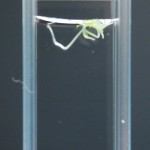
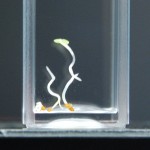
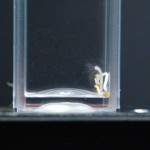
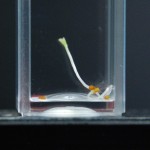
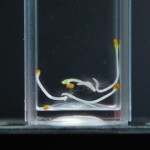
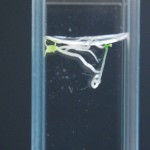
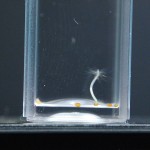
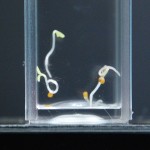
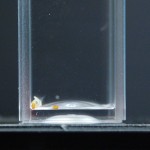
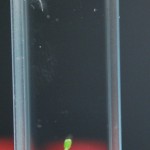
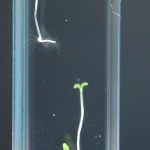
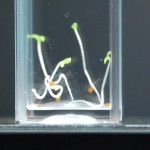
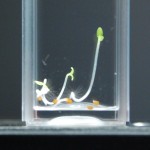
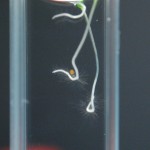
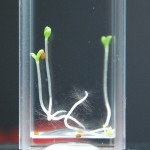
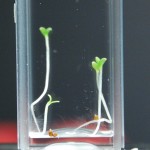
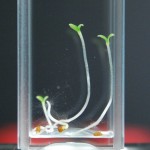
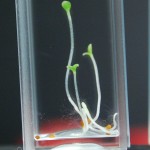
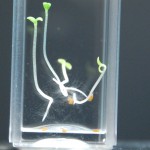
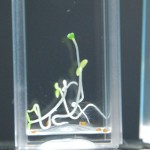
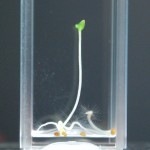
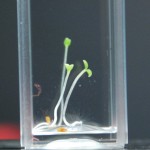
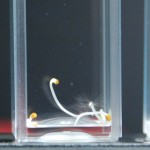
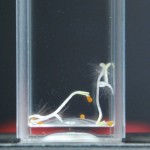
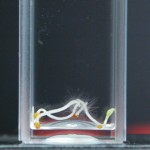
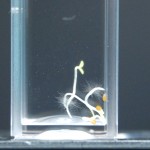
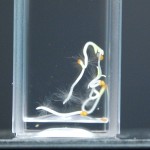
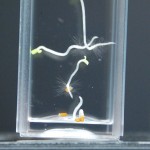
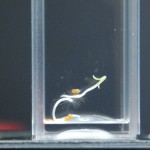
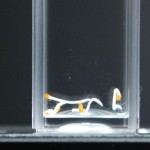
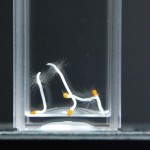
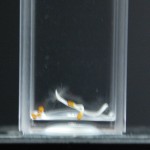
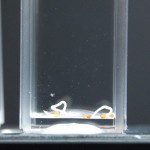
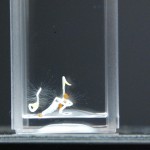
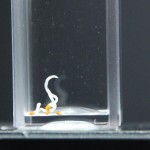
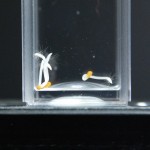
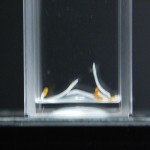
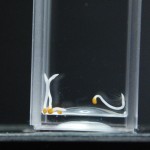
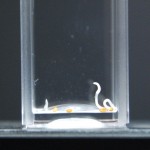
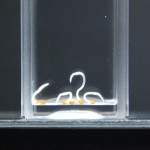
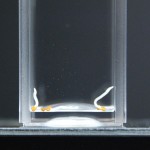
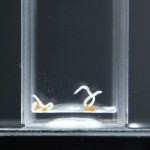
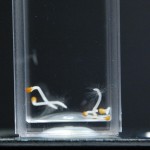
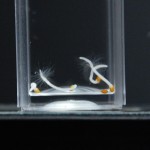
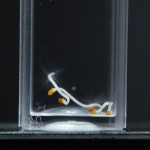
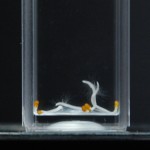
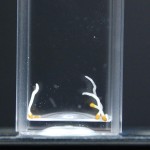
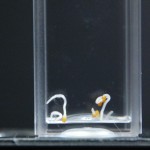
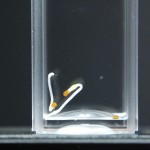
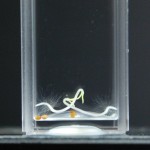
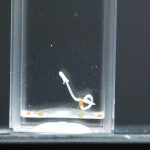
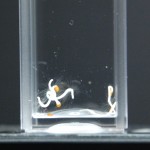
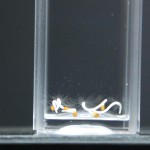
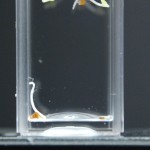
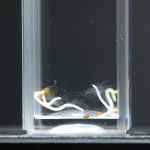
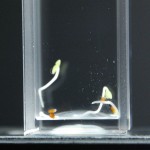
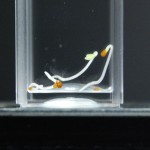
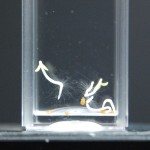
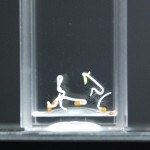
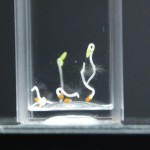
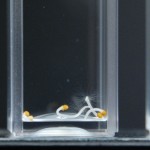
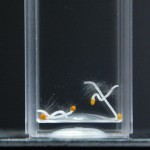
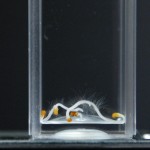
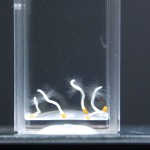
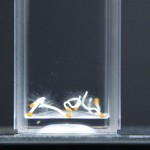
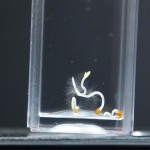
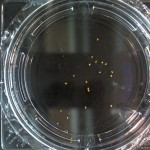
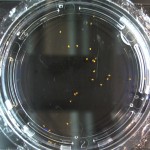
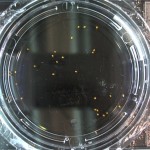
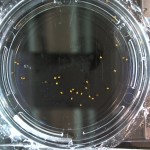
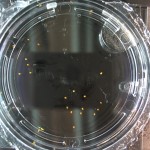
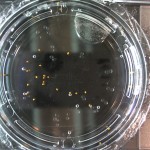
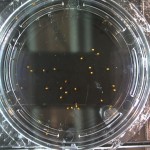
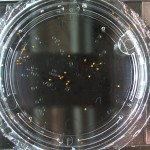
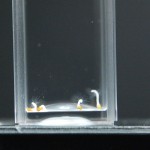
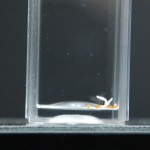
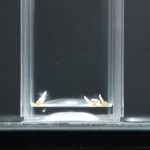
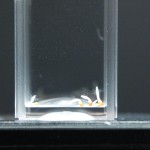
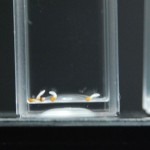
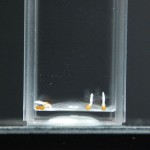
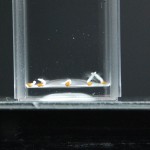
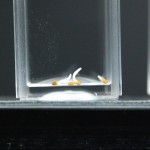
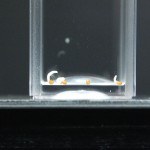
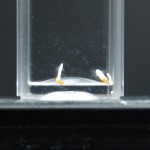
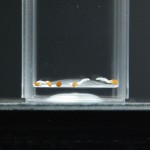
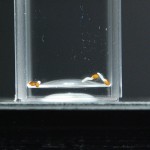
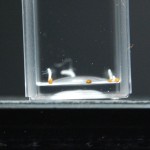
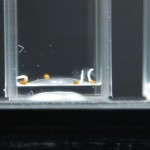
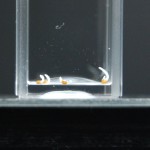
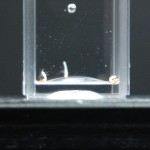
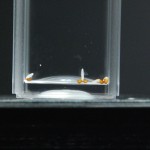
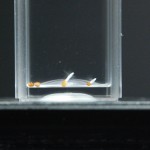
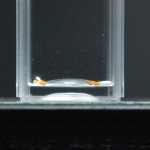
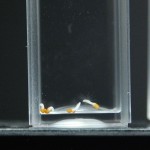
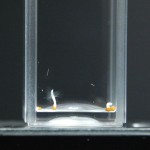
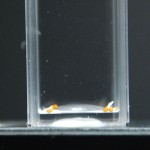
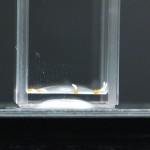
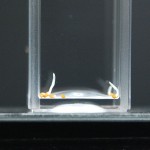
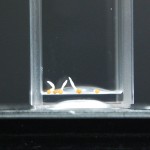
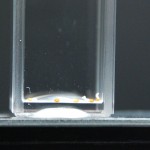
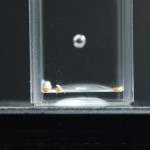
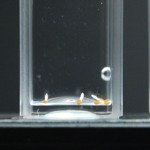
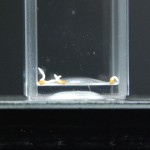
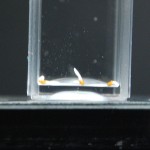
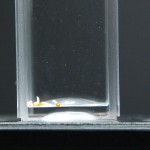
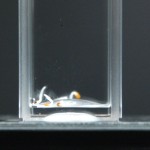
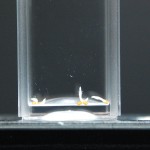
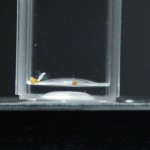
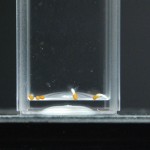
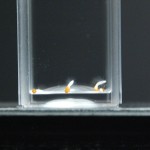
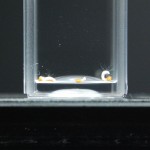
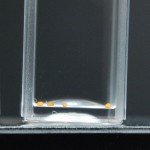
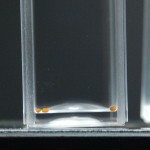
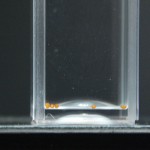
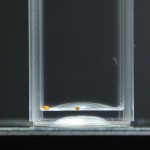
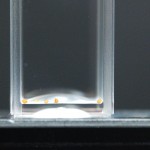
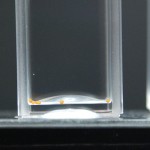
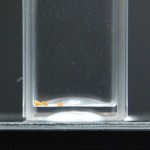
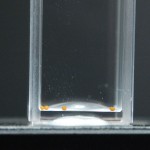
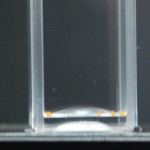
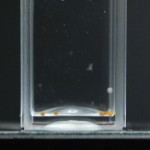
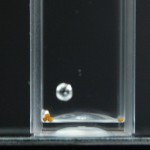
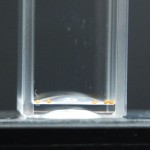
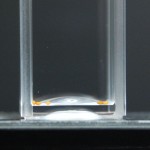
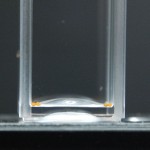
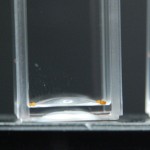
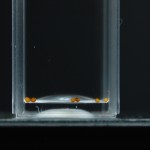
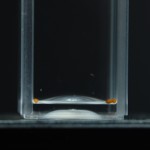
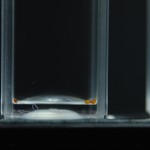
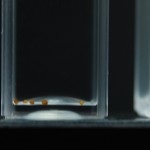
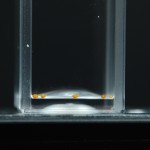
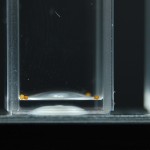
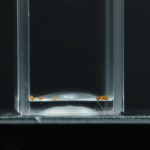
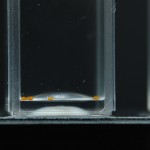
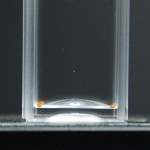
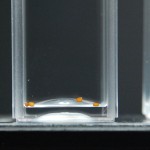
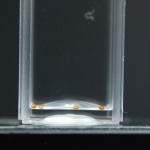
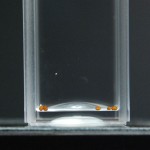
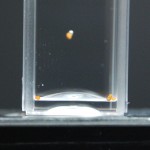
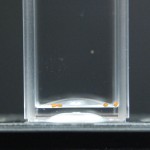
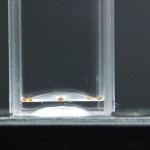
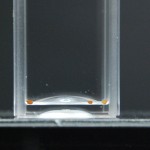
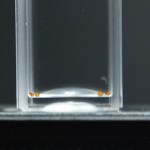
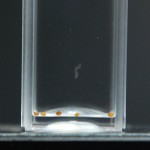
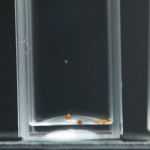
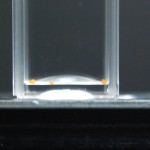
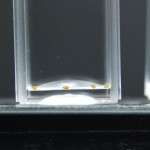
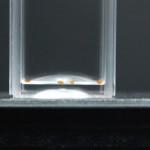
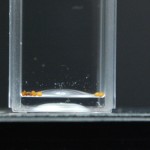
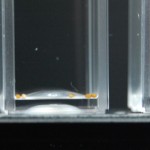
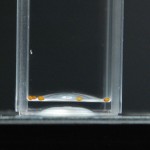
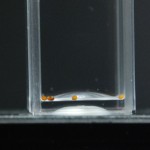
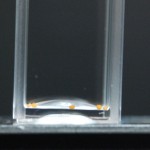
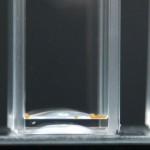
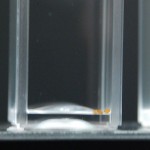
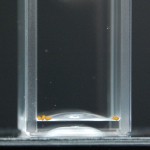
Anyways here are the Day 0 pictures. Luckily I don’t have to do this every day, that would suck. From now on I may label the water types as follows:
Since the last time I did this, I have learned a ton about proper exposure with a camera. And I actually know what aperture, ISO, and shutter speed are for. I’ll do a post that explains all that but in the mean time here are the settings I used for these pictures and those in the future:
I’m sure these settings are saved with the images so if you download the pics you’ll see the camera settings in photo software.
After 4 trials and talking with Steve, there is no way to ensure that the results we are getting have anything to do with deuterium content. We can’t tell at all that our DI water is just not the same kind of “pure” that the DDW is. So I bought deionized water from Sigma (same people who make our DDW and D2O) to compare with our water and to compare to the DDW results to determine if the root hairs grow based on water purity or if it has something to do with deuterium content.
Here is the setup of the experiment:
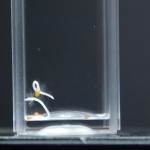
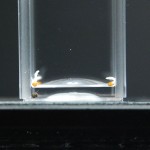
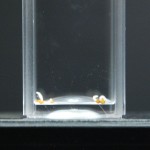
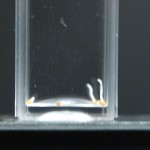
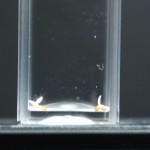
Today’s protocol was really easy. I used my macro cuvettes (see Experiment Product Page) and set up 4 cuvettes for each water type giving me a total of 24 cuvettes. I did this so I could set up samples for one seed type at a time, and because I only had enough racks for this many cuvettes. I also prepared the D2O/DDW mixture (29.7mL of DDW, 0.3mL of D2O).
I poured 5-7 seeds in each macro cuvette until all the setup cuvettes had seeds in them. Then I added 3mL of water to the samples (again making 4 samples per water type). Then I sealed the cuvettes with PE caps.
I repeated this setup for the next seed type (24 cuvettes, 5-7 seeds per sample, 4 samples per water type, with 3mL of water per sample) and sealed and labeled all cuvettes.
I placed the cuvettes in the 4C fridge to synchronize the growth among all the samples. Tomorrow I’ll remove the seeds and take Day 1 pictures.
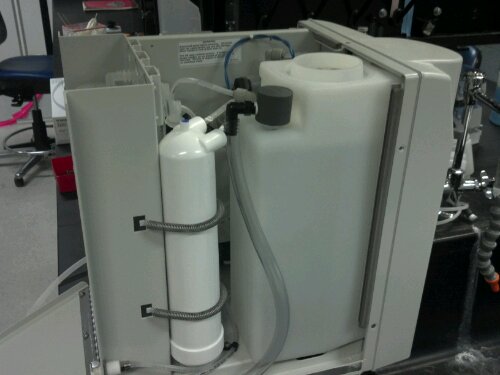
In the lab we have a Barnstead EasyPure RoDI water filtration system sold by Thermo Scientific (see experiment product list). The prefilter and UV lamp have expired and I bought the necessary parts to replace it. If you’ve lost your manual for the machine and don’t want to wait the two days to talk to Thermo Tech Support (electronically) then the part numbers for these pieces are: Prefilter (D50246) and UV Lamp (LMX13). I bought mine from VWR for quite a pretty penny (~$300 for both pieces).
Anyway the installation is pretty simple and straightforward, but I’ll walk you through it anyways.
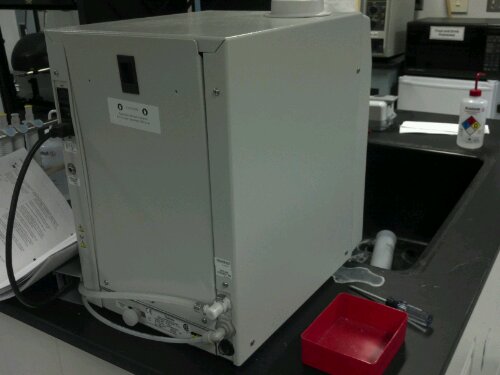
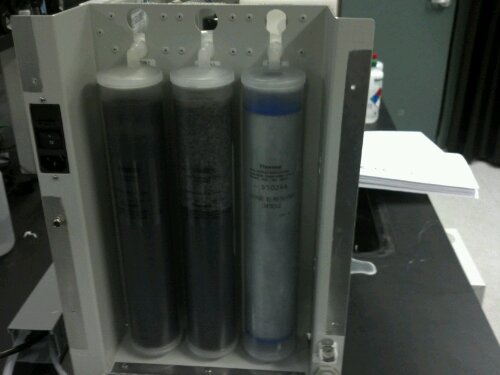
Above is a picture of the back and side of the filtration system. The back panel contains the filter cartridges, and the UV lamp is accessed by removing the casing from the sides and back. In the above image you can see 3 screws on the side and 4 on the back around the rim. These need to be removed to get to the UV lamp. The black latch on the back needs to be pulled down to open the rear hatch.
Before you remove the screws make sure the machine is off and disconnect the power supply and the water feed lines. These are supposed to be a quick connect system but there was nothing quick about it for me. Eventually I gave up on removing one of them.
Once you get the top off, this is what you should see inside the device. The UV lamp is behind the water tank. Just follow the blue wires.
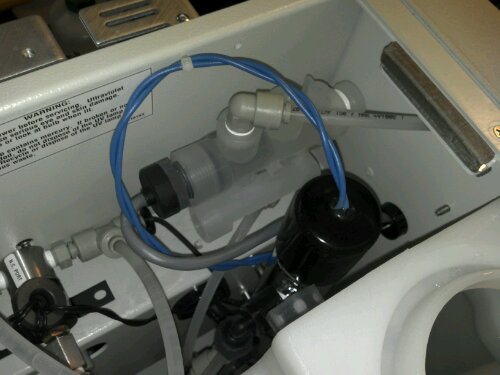
There it is. The lamp is enclosed in a metal cylinder. So gently pull on the black rubber cap to pull out the lamp. The cap protects the plug that attaches the wires to the lamp, so be gentle here. The lamp should come out quite easily, but the wires aren’t long enough to pull the lamp out all the way so you first have to remove the plug.
Slide the black cap back along the wires so you can see the plug and wiggle the plug until it detaches from the lamp.The plug does not remove easily, so be gentle but forceful. Once you get the plug off you can fully remove the lamp from the cylinder. Check out the difference between the new lamp and the old one below:
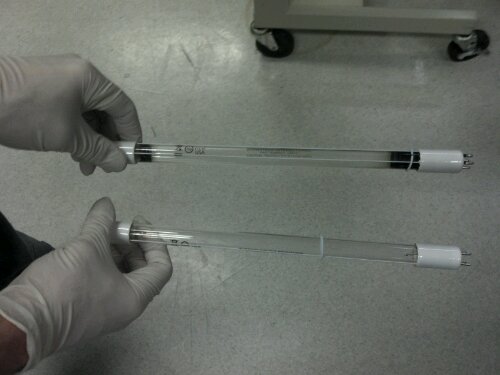
Yuck right! Now slide the new lamp into the cylinder about halfway and put the plug back on it. Again it is a snug fit so be gentle and strong. Also it is worth noting that according to the manual the slightest bit of perspiration and finger prints can ruin the lamp performance so wear lint free gloves.
If you get anything on the lamp (like I did because I didn’t read the instructions, you see kids this is what happens when you don’t follow the rules…) you can use isopropanol and a fiber free cloth (kim wipes work well) to clean the lamp.
Now let’s get at the prefilter. Since the top is off, the access is easier because the back panel isn’t latched onto anything. There are 3 cartridges in here all designed for easy removal. The one on the far right is the RO Prefilter.
According to the manual, this filter is designed for easy removal. WRONG! In principle you just slide the cartridge up and out, but the fittings are all really snug and taking this thing in and out isn’t an easy task. First pull it up so hard you are sure you are going to break something. Once it pops up you should be able to move it up to a keyhole type thing. From there pull it out so hard your arms come out from their sockets. If your shoulders give before the gasket you’ve done it right!
Then take your new prefilter and put it back in reverse order. Only instead of pulling this time you push. And you push so hard it feels like you are going to give birth. And I’m pretty sure I did!
When that is all in and snug you are done! Well sorta, you need to reset the RO prefilter timer. First put everything back the way you found it (reconnect hoses, plug in machine, put top on). Hold down the flush button and turn on the machine. When you see “reset RO” press Start/Stop and when you see “—” press it again. Then you are done with that.
Next you should see -d1 (or something like that) and press Start/Stop to start the machine and get it to do it’s filtering goodness. Now you are done!
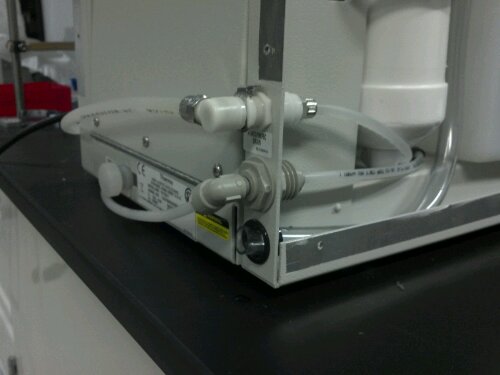
Aside: I didn’t pay attention to which fitting the water feed in line connected to. There are three “ports” on the back of the machine. The top is water in, the middle is water out, and the bottom is an overflow line for the tank. I spent about an hour trying to put the water in line into the overflow port. Not fun. Below is a picture of a connection that is too small for a hose.
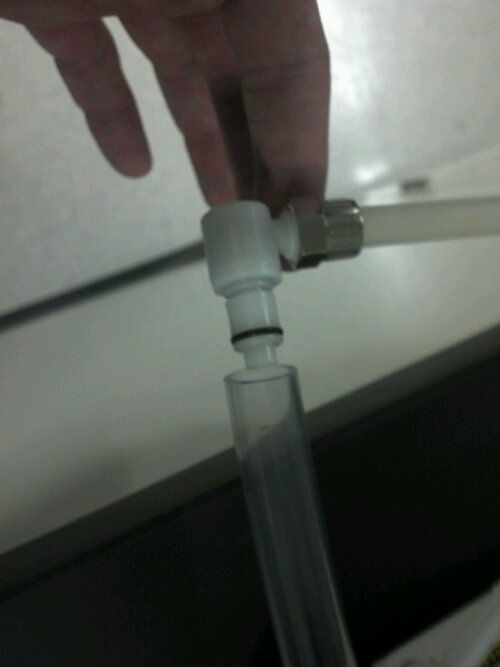
And below that is how it’s supposed to look, so don’t try and do what I did. (I ended up calling tech support and while they were little to no help, I managed to figure out the problem).
So I hope this helps you if you have a little trouble trying to figure out this machine, lost your manual, or something else. If it didn’t then I’m sorry you spent so much time reading something so useless to you, but hey that’s not my fault.
Now I can begin the Repeating Crumley Water experiment and get going on the E. coli growth experiments! Yay!
We have this big unanswered question with regards to the DDW experiments. Are we seeing effects because of the difference between D and H, or are we seeing effects based on differences in the source of the waters? DDW is purchased, and our DI is manufactured in house via our EasyPure RoDI system (see experiments’ product details page).
To (hopefully) answer this question I’m going to setup a cuvette experiment similar to the current experiments using different DI water sources only. I just purchased 2 different waters from Sigma (see W4502 and W3500). I’m not quite sure what the differences are between those two specifically but here is a table that pretends to be informative.
On top of that I just purchased some new parts for our RoDI system (needed a new prefilter and UV lamp) and so I will test this water against that. And finally I will use the CHTM DI water system as a source as well.
Seems like it’s fixing to be a great experiment.
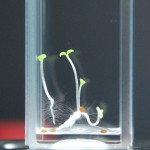
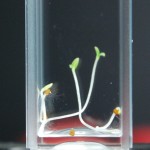
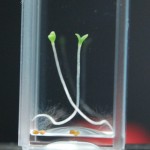
Steve and I are trying to come up with ways to quantitatively measure differences between seeds grown in ddw vs di water. Via the slideshows it is obvious that length is one such observable. Is mass another?
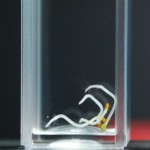
Perhaps, but it’s not easy to extract a number from such small samples. I gave it a try nonetheless. 2 days ago I opened all my sample chambers and allowed the water from each sample to evaporate and the plants to dry out. I used seeds from both the Repeating Crumley experiments and the DDW Effects experiments.
I realized quickly that I can’t weigh the seeds in the analyslides because the vacuum grease that I use to seal the chambers isn’t uniform on any of the dishes. That means that I can’t take a baseline weight of one slide and use that as a zero for all the dishes. I then threw out the seeds without realizing I could try and scoop out the plants and weight them on weigh paper or something. Next time.
The seeds in the DDW Experiments are contained in macro cuvettes. I took four empty (and new) cuvettes and weighed one and zeroed the scale. Then I weighed each of the others and found that two others were identical in mass and the fourth cuvette had a mass that was 0.0004g less than the original cuvette. Not bad.
I then began to weigh each of the cuvettes that contained dried plants.
BAD IDEA!
It seems the tobacco seedlings are so slight that every sample I measured was around 0.0003g lighter than the blanked cuvetter! There are on average 5 seedlings in each sample. So that means that 5 seedlings have less mass combined then the error associated with inequalities in the mass of different cuvettes. Interesting but sucky.
It is pretty hard to remove the seedlings from the cuvettes without destroying them so I’ll have to return to the drawing board. I think I will setup another RC experiment and scrape the seedlings out of there (weigh the seeds before adding them to the batch) at the conclusion of the data acquisition and weigh them via some other means (again probably on weigh paper).
Ideas?
Note: I tried to do this with the arabidopsis but realized that those seeds are definitely too light to be noticed by our supposedly super sensitive balance.